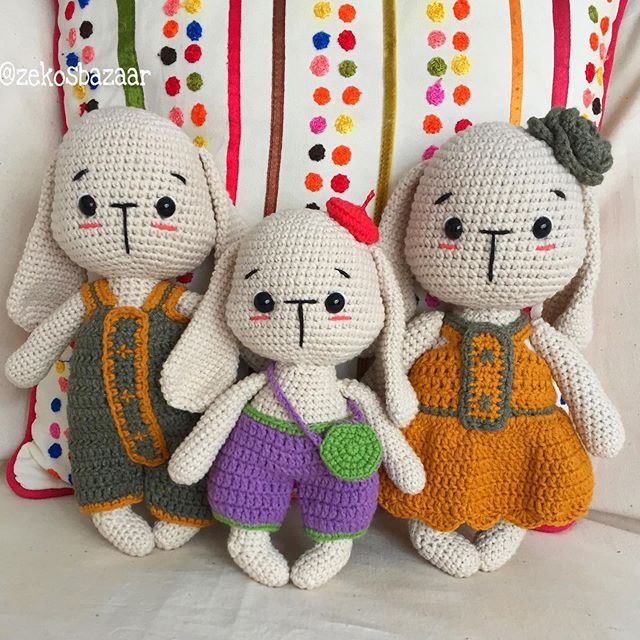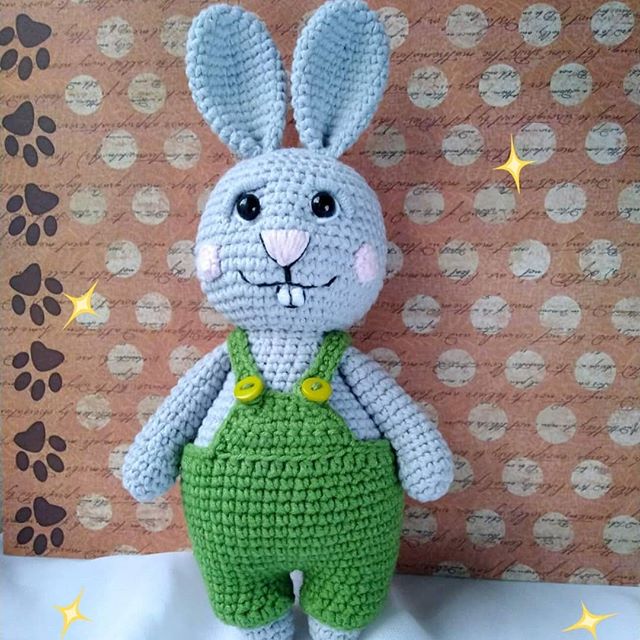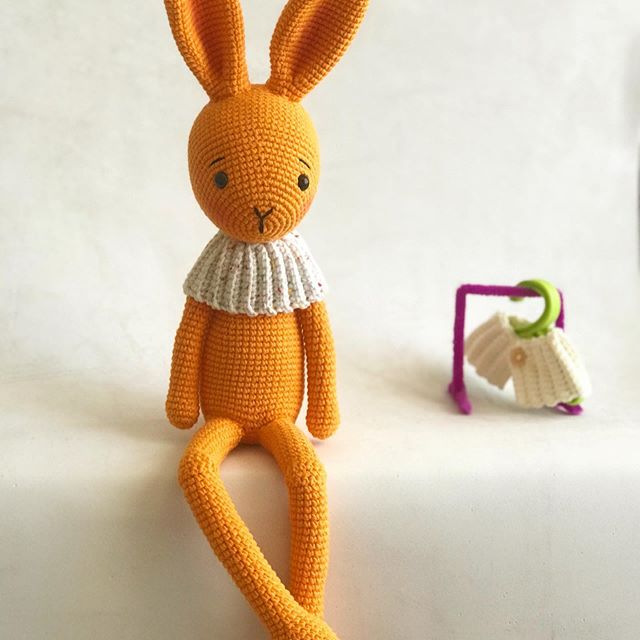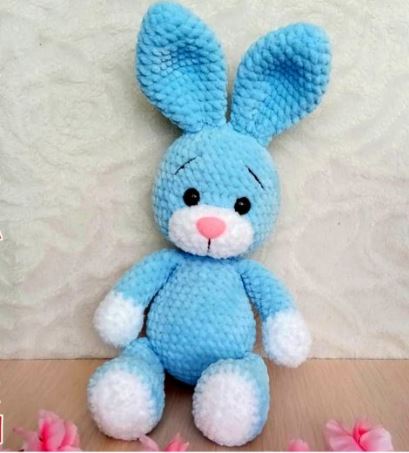
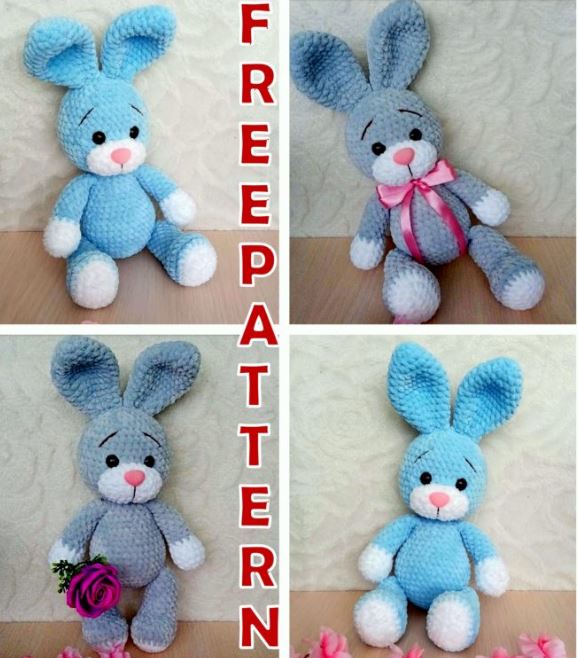
Amigurumi Velvet Little Cute Bunny Free Pattern
Hello dear Amigurumi Followers
Today we share one free amigurumi crochet pattern again for you. As you know we share new amigurumi free patterns every day. The main crochets are amigurumi gazelles, amigurumi bears, amigurumi pola, amigurumi pandas, amigurumi penguins, amigurumi giraffes, amigurumi llama, amigurumi pigs, amigurumi bunny, amigurumi clowns, amigurumi lambs, amigurumi bees, amigurumi unicorns, amigurumi dolls, amigurumi foxes, amigurumi penguins, amigurumi dinosaurs, amigurumi elephants, amigurumi hippos, amigurumi monkeys, amigurumi cats, amigurumi dogs and more …
Todays daily new amigurumi free crochet pattern is Amigurumi bunny
I want to give you some informations about this pattern ;
If you enjoy making amigurumi, here I share this easy and free amigurumi pattern for you for free. Your kids will love these toys.
Term Used:
slst – slip stitch
ch – chain
sc – single crochet
inc – increase
dec – decrease
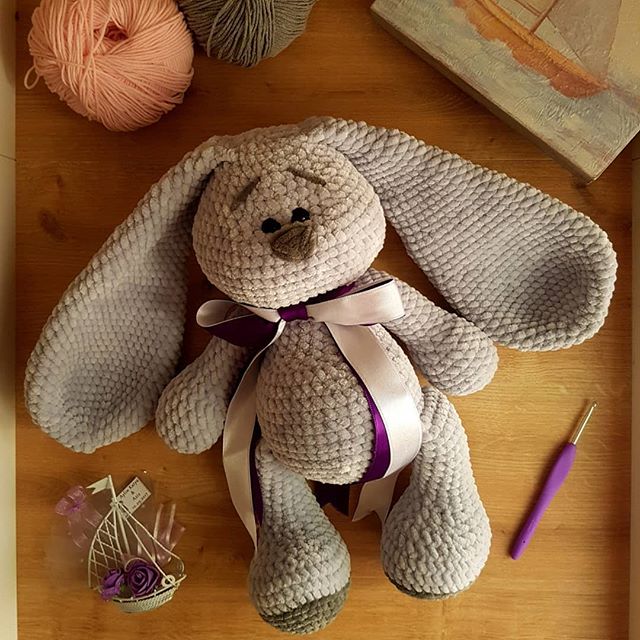
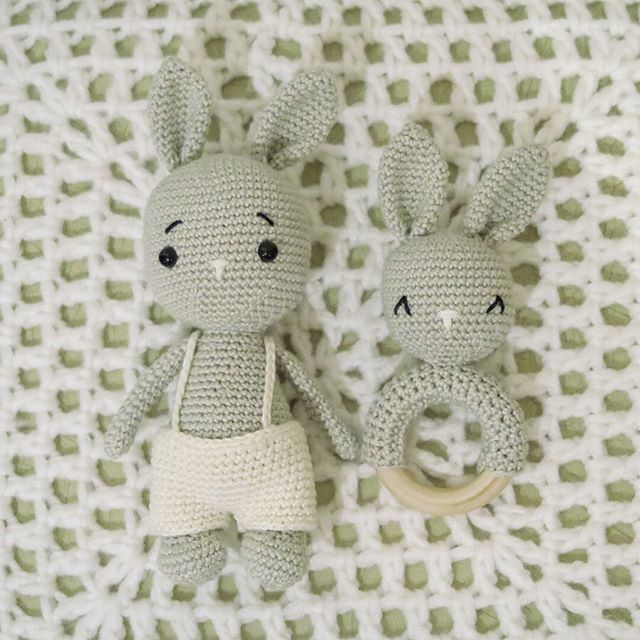
According to this description, the toy is 25 – 27 cm excluding ears, depending on the density of your knitting, size your hook and batch of yarn.
Necessary Materials
- Himalaya Dolphin Beby Plush Yarn
- Primary color No. 325
- Complementary color No. 301
- You can also use yarn for extra color.
- Alize Softy Plus, white.
- Filler (syntepuh, holofiber)
- Plastic nozzle on a secure mount with a cap
- 14 * 19 mm
- Plastic eyes on a secure mount with a plug
- diameter 12-14 mm
- Hook No. 4 or No. 3, 5
- The thread in the main color for tightening and sewing parts
- Thread for sewing eyebrows
- Needle for stitching parts and tightening
- Filler (syntepuh, holofiber)
- Decorative elements (if desired)
- Thread lighter
Muzzle
We begin to knit in additional color.
1. We collect a chain of 7 air loops, into the second loop
from the hook (3sc in one loop); 4 sc; (3sc in one loop); 4 sc (14)
The marker passes from below, from the side.
2.3 inc; 4 sc; 3 inc; 4 sc; (twenty)
3. (1sc 1inc) * 3 times; 4sc; (1sc; 1inc) * 3 times; 4sc (26)
4.26 sc unchanged
Tie another 2 sc, fasten the thread and cut.
Insert the nose between 2 and 3 rows.
Tail
The tail does not fill or we fill very weakly.
Knit in additional color.
1.5 sc into magic ring (5)
2.5 inc (10)
3. (1 sc; 1 inc) * 5 times (15)
4. 15 sc unchanged (15)
5. (1 sc; dec) * 5 times (10)
Fasten the thread, cut.
Ears (2 parts)
Knit in the main color. We don’t stuff ears.
1.6 sc into magic ring (6)
2.6 inc (12)
3. (1 sc; 1 inc) * 6 times (18)
4-5. 18 sc unchanged (2 rows)
6. (2 sc; 1 inc) * 6 times (24)
7-9. 24 sc unchanged (3 rows)
10. (6 sc; 1 dec) * 3 times (21)
11. (5 sc; 1 dec) * 3 times (18)
12.18 sc unchanged
13. (4 sc; 1 dec) * 3 times (15)
14. 15 sc unchanged
15. (3 sc; 1 dec) * 3 times (12)
16. (2 sc; 1 dec) * 3 times (9)
Fasten the thread, cut.
Pens (2 parts)
Handles are filled in the course of knitting. Start knitting complementary color.
1.6 sc into magic ring (6)
2.6 inc (12)
3. (3sc; 1 inc) * 3 times (15)
4-5. 15 sc unchanged (2 rows)
The marker runs along the inside of the pen
6. (3 sc; 1 dec) * 3 times (12)
Fill the bottom of the handle with filler.
Change the color to the main one.
7. (4 sc; 1 dec) * 2 times (10)
8-16. 10 sc (9 rows)
Refill the handle with filler, the last three rows do not fill up.
Fasten the thread, cut.
We will knit arms and legs into the body, just folding them together.
Feet (2 parts)
We fill the legs in the course of knitting.
We begin to knit in additional color.
1. We collect a chain of 6 air loops, into the second loop
from hook 4 sc; (3sc in one loop); 3 sc; 1 inc (12)
2. 1 inc; 3 sc; 3 inc; 3 sc; 2 inc (18)
3.1sc; 1inc; 3sc; (1sc; 1inc) * 3 times; 3sc; (1sc; 1inc) * 2 times (24)
Change the color to the main
4 – 6. 24 sc unchanged (3 rows) the marker is located behind legs
7. 6 sc; 6 dec; 6 sc (18)
8. 1 sc; 1dec; 4 sc; 2 dec; 4 sc; 1 dec; 1 sc (14)
Fill the bottom of the leg with filler
9 – 15. 14 sc unchanged (7 rows)
Refill the leg with filler. Last three rows not fill up.
16. (5 sc; dec) * 2 times (12)
17. 12 sc unchanged;
Tie another 2 sc, fasten the thread, cut.
The body fits with the head
We start to knit with the body.
We fill in the course of knitting. Start knitting color.
1.6 sc into magic ring (6)
2.6 inc (12)
3. (1 sc; 1 inc) * 6 times (18)
4. (2 sc; 1 inc) * 6 times (24)
5. (3 sc; 1 inc) * 6 times (30)
6. (4 sc; 1 inc) * 6 times (36)
In the next row we will knit the legs. Marker passes in the middle of the back.
7. 6 sc; 6 sc with leg; 12 sc; 6 sc with leg;
6 sc (36)
8-12. 36 sc unchanged (5 rows)
13. (4 sc; 1 dec) * 6 times (30)
14-15. 30 sc unchanged (2 rows)
16. (3 sc; 1 dec) * 6 times (24)
17. 24 sc unchanged eighteen . (4 sc; 1 dec) * 4 times (20)
Gradually fill the body with filler.
In the next row we will knit pens.
19. Pre-align the handles with respect to the legs,
the distance between the handles front and back will be 5 sc and
5 sc, we will knit together with the handles. Total in the row (20) sc.
20. (2sc; 1 dec) * 5 times (15)
21. (3sc; 1 dec) * 3 times (12)
We fill the body with filler to the end.
We continue knitting. (recall, we knit the body together with head)
Start knitting your head
Knit in the main color. We fill in the course of knitting.
1.12 inc (24)
2. (1 sc; 1 inc) * 12 times (36)
3. (5 sc; 1 inc) * 6 times (42)
4. 42 sc unchanged
5. (13 sc; 1 inc) * 3 times (45)
6 – 7. 45 sc unchanged (2 rows)
8. (13 sc; 1 dec) * 3 times (42)
9 – 10. 42 sc unchanged (2 rows)
We begin to fill the head with filler, previously very good, denser, you need to distribute the filler in neck area so that the head does not dangle.
11. (5 sc; 1 dec) * 6 times (36)
12 – 14. 36 sc unchanged (3 rows)
We insert eyes between 9 and 10 rows
15. (4 sc; 1 dec) * 6 times (30)
16. (3 sc; 1 dec) * 6 times (24)
17. (2 sc; 1 dec) * 6 times (18)
18. (1 sc; 1 dec) * 6 times (12)
Refill the head with filler.
19. 6 dec (6) tighten the hole, fasten and hide the thread.
Assembly and design
Sew the muzzle between 2 and 10 rows a little flattening it.
We make a head loss:
– Enter the needle with the thread in color, from the bottom in the middle, at the junction body and head, between 21 near the body and 1 near the head.
– We display under the left eye from the outer edge, stepping back to to the other edge of the eye.
– Insert the needle and withdraw it at the initial point, we’re not pulling it very much.
– Next, bring the needle under the righteye from the outer edge, stepping back to to the other edge of the eye.
– Insert the needle and bring it to the initial point, do not drag down very much.
– Tie a thread and do it higher described again.
– Tie, thread and hide the thread to the head.
Sew on the top of the ears heads squeezing a little to their sides.
We make a face. Embroider eyebrows.
Sew the tail so that it served as a support when sitting.
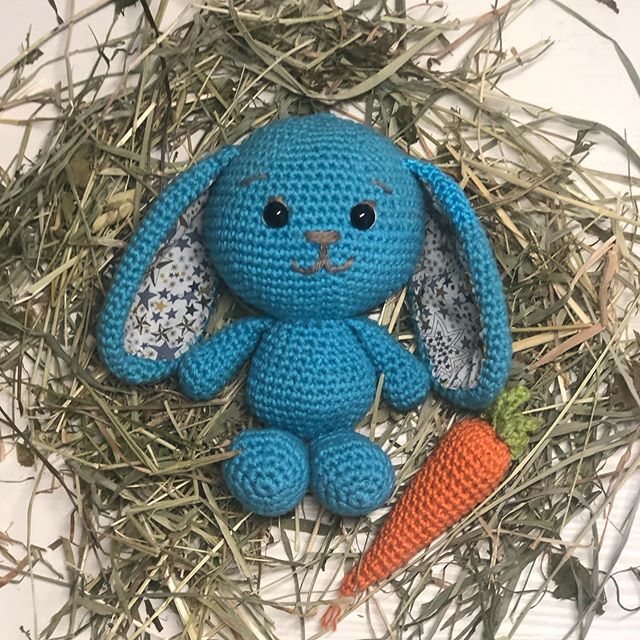
Your little bunny is ready !!!
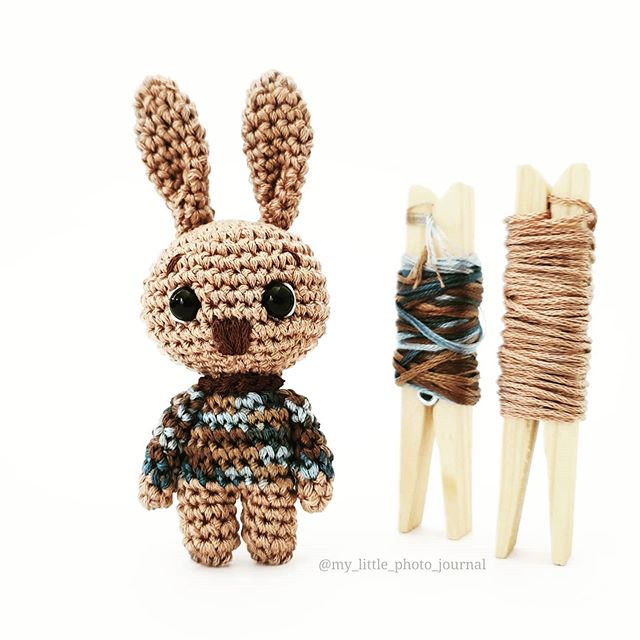
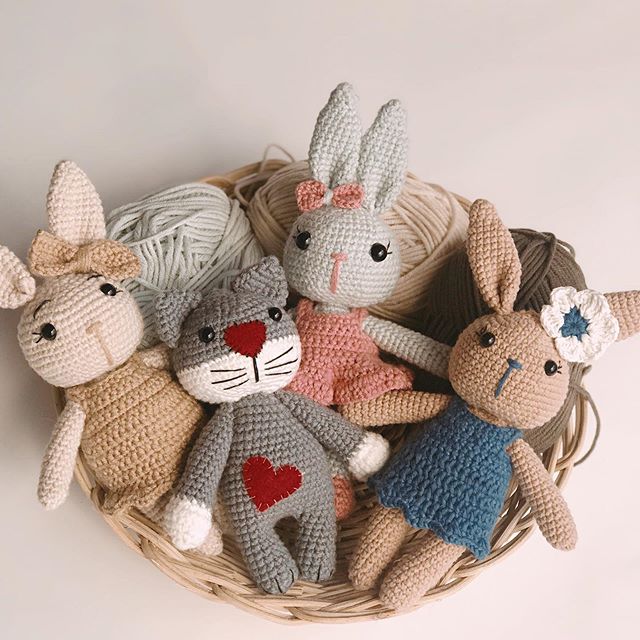
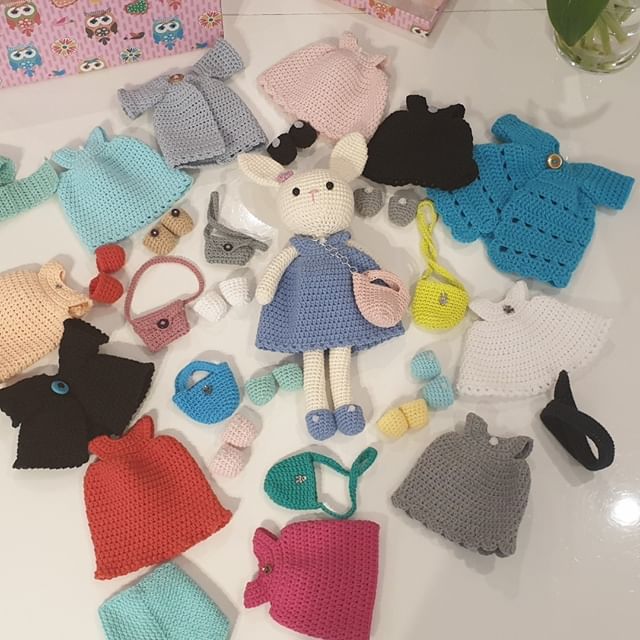
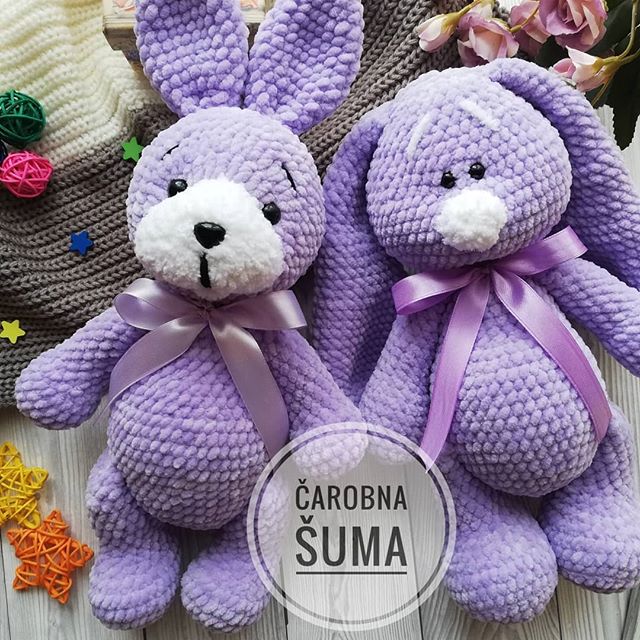
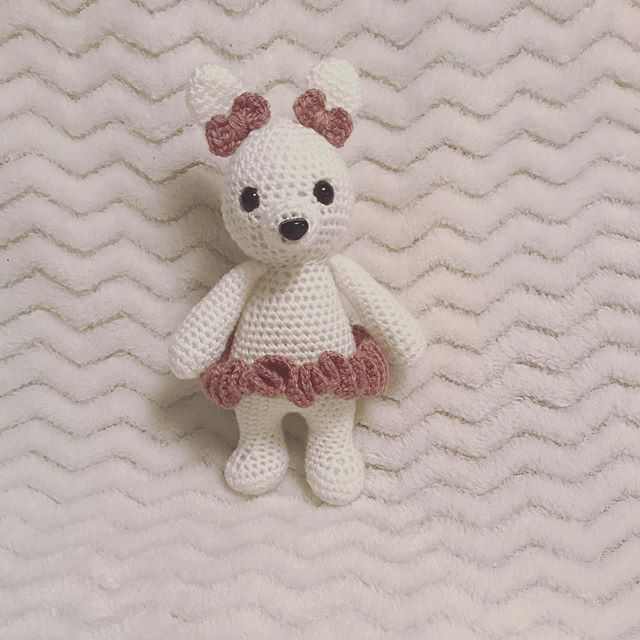
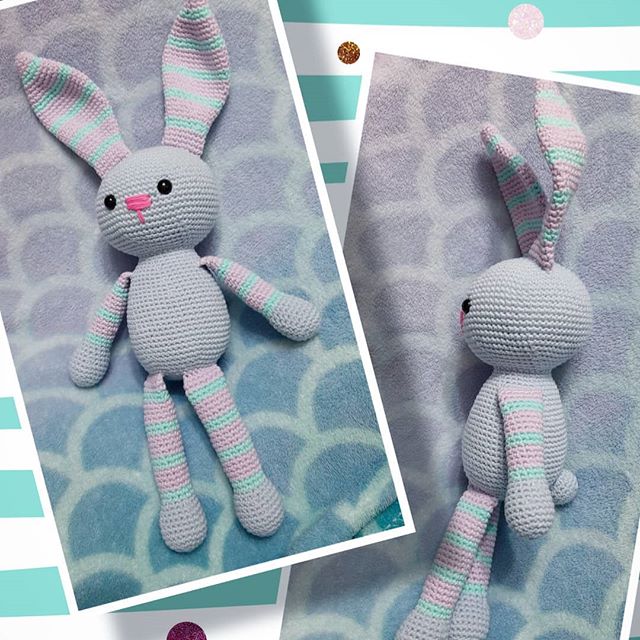
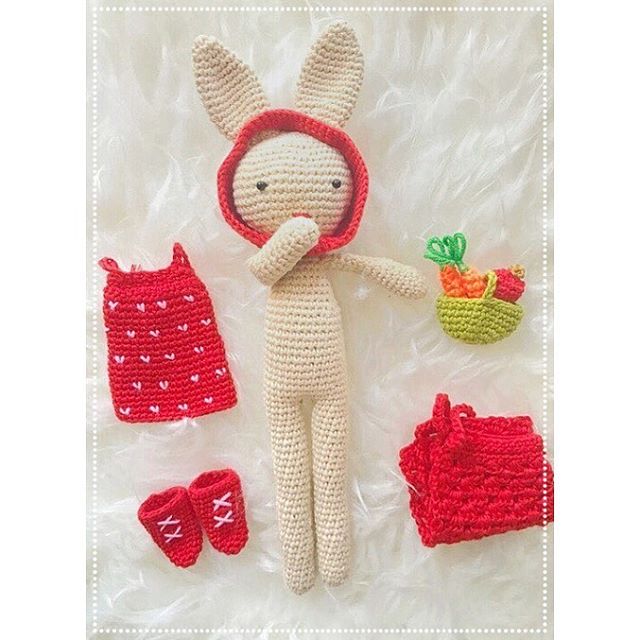
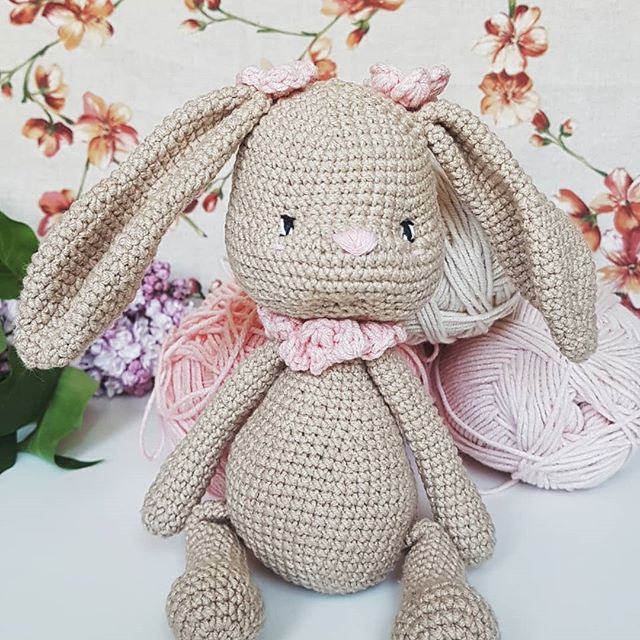
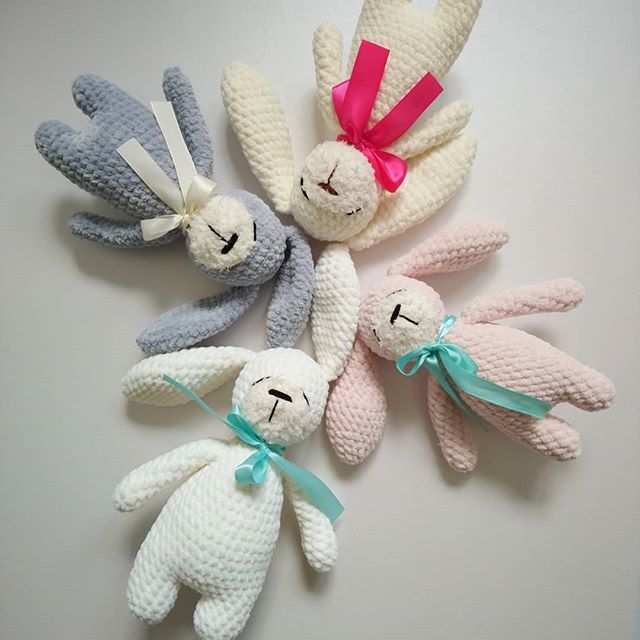
More Amigurumi Bunny Ideas: