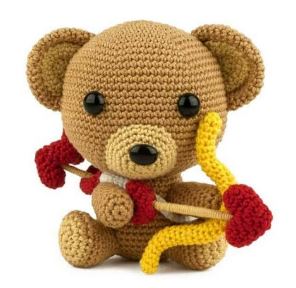
Amigurumi Cute Cupid Bear Free Pattern
Hello dear visitors, I am here again with new amigurumi molds for you. I am sharing amigurumi patterns for you here for free. You can make your children happy by making these patterns. Amigurumi toys are very popular lately and are the most beautiful toys that don’t harm your kids. Your kids will love them. Let’s move on to our pattern and give them this gift.
Materials
- Crochet needle (2,5 mm)
- Medium brown yarn (for instance SMC Catania – 179)
- Light brown yarn (for instance SMC Catania – 206)
- White yarn (for instance Phildar Phil Coton 3 – Blanc 10)
- Red yarn (for instance Phildar Phil Coton 3 – Cerise 50)
- Yellow yarn (for instance Phildar Phil Coton 3 – Soleil 45)
- Fiber fill
- 2 black safety eyes (12 mm)
- Black safety nose (14 mm)
- Iron wire (1,1 mm)
- Skewers
Abbreviations
RND = Round
sc = single crochet
sl.st = slipstitch
ch = chain
tch = turning chain
dec = decrease
Head/body
(Use medium brown yarn)
RND 1: 6 sc in magic ring (6)
RND 2: 2 sc in each sc (12)
RND 3: 2 sc in each 2nd sc (18)
RND 4: 2 sc in each 3rd sc (24)
RND 5: 2 sc in each 4th sc (30)
RND 6: 2 sc in each 5th sc (36)
RND 7: 2 sc in each 6th sc (42)
RND 8: 2 sc in each 7th sc (48)
RND 9: 2 sc in each 8th sc (54)
RND 10: 2 sc in each 9th sc (60)
RND 11: 2 sc in each 10th sc (66)
RND 12-18: 66 sc (66)
RND 19: 2 sc in each 11th sc (72)
RND 20-24: 72 sc (72)
RND 25: dec over each 11th and 12th sc (66)
Attach the safety eyes to the head, between round 17 and 18, with 10 stitches
between the eyes.
RND 26: dec over each 10th and 11th sc (60)
RND 27: dec over each 9th and 10th sc (54)
RND 28: dec over each 8th and 9th sc (48)
RND 29: dec over each 7th and 8th sc (42)
RND 30: dec over each 6th and 7th sc (36)
RND 31: dec over each 5th and 6th sc (30)
RND 32: dec over each 4th and 5th sc (24)
Start filling and keep filling until the last round.
RND 33: 2 sc in each 4th sc (30)
RND 34: 30 sc (30)
RND 35: 2 sc in each 5th sc (36)
RND 36: 36 sc (36)
RND 37: 2 sc in each 6th sc (42)
RND 38-44: 42 sc (42)
RND 45: dec over each 6th and 7th sc (36)
RND 46: dec over each 5th and 6th sc (30)
RND 47: dec over each 4th and 5th sc (24)
RND 48: dec over each 3rd and 4th sc (18)
RND 49: dec over each 2nd and 3rd sc (12)
RND 50: dec over each 2 sc (6)
Tie-off with a sl.st and close the head/body.
Arms (2x)
(Use medium brown yarn)
RND 1: 6 sc in magic ring (6)
RND 2: 2 sc in each sc (12)
RND 3-12: 12 sc (12)
Fill the arms. Tie-off with a sl.st and leave
enough yarn to sew the arms to the body.
Feet (2x)
(Start with light brown yarn)
RND 1: 6 sc in magic ring (6)
RND 2: 2 sc in each sc (12)
RND 3: 2 sc in the 1st, 2nd, 3rd, 7th, 8th, 9th sc
(18)
(Switch to medium brown yarn)
RND 4: 2 sc in the 2nd, 4th, 6th, 11th,
13th, 15th sc (24)
RND 5: 24 sc (24)
RND 6: dec over the 2nd and 3rd, 5th
and 6th, 8th and 9th sc (21)
RND 7: dec over each 6th and 7th sc (18)
RND 8: dec over each 5th and 6th sc (15)
RND 9-11: 15 sc (15)
Fill the feet. Tie-off with a sl.st and leave
enough yarn to sew the feet to the body.
Snout
(Use light brown yarn)
RND 1: 6 sc in magic ring (6)
RND 2: 2 sc in each sc (12)
RND 3: 2 sc in each 2nd sc (18)
RND 4: 2 sc in each 3rd sc (24)
RND 5: 24 sc (24)
RND 6: 2 sc in each 4th sc (30)
Tie-off with a sl.st and leave enough yarn to sew the snout to the head.
Attach the safety nose to the snout, between round 3 and 4.
Ears outside (2x)
(Use medium brown yarn)
RND 1: 6 sc in magic ring (6)
RND 2: 2 sc in each sc (12)
RND 3: 2 sc in each 2nd sc (18)
RND 4: 2 sc in each 3rd sc (24)
RND 5: 2 sc in each 4th sc (30)
RND 6-10: 30 sc (30)
Tie-off with a sl.st and leave enough yarn to sew the ears to the head.
Ears inside (2x)
(Use light brown yarn)
RND 1: 6 sc in magic ring + 1 tch (6)
RND 2: turn around and crochet 6 sc + 1 tch (6)
RND 3: turn around and crochet 2 sc in each sc +
1 tch (12)
RND 4: turn around and crochet 12 sc (12)
Tie-off with a sl.st and leave enough yarn to sew this part to the ears outside.
Quiver
(Start with white yarn)
RND 1: 6 sc in magic ring (6)
RND 2: 2 sc in each sc (12)
RND 3: 2 sc in each 2nd sc (18)
RND 4: 2 sc in each 3rd sc (24)
RND 5: 24 sc in the back loops only (24)
RND 6-16: 24 sc (24)
(Switch to red yarn)
RND 17-18: 24 sc (24)
RND 19: 2 sc in each 4th sc in the front loops only (30)
RND 20: 30 sc (30)
Tie-off with a sl.st.
Fold the top of the quiver.
Quiver strap
(Use white yarn)
Row 1: 40 ch + 1 tch (40)
Row 2: turn around and crochet 40 sc (40)
Tie-off and leave enough yarn to sew the strap to the quiver.
Bow
(Use yellow yarn)
RND 1: 6 sc in magic ring (6)
RND 2-35: 6 sc (6)
Put a piece of iron wire into the bow and bend it
in the shape you want.
Tie-off with a sl.st and close the bow.
Arrows: heart part 1 (3x)
(Use red yarn)
RND 1: 6 sc in magic ring (6)
RND 2: 2 sc in each 2nd sc (9)
RND 3: 9 sc (9)
Tie-off with a sl.st.
Arrows: heart part 2 (3x)
(Use red yarn)
RND 1: 6 sc in magic ring (6)
RND 2: 2 sc in each 2nd sc (9)
RND 3: 9 sc (9)
RND 4: crochet around the 2 parts (18)
RND 5: dec over each 2nd and 3rd sc (12)
RND 6: 12 sc (12)
Fill the heart.
RND 7: dec over each 2 sc (6)
Tie-off with a sl.st and close the heart.
Arrows: back part 1 (3x)
(Use red yarn)
RND 1: 4 sc in magic ring (4)
RND 2: 4 sc (4)
RND 3: 2 sc in each 2nd sc (6)
Tie-off with a sl.st.
Arrows: back part 2 (3x)
(Use red yarn)
RND 1: 4 sc in magic ring (4)
RND 2: 4 sc (4)
RND 3: 2 sc in each 2nd sc (6)
RND 4: crochet around the 2 parts (12)
Fill the part.
RND 5: dec over each 2 sc (6)
Tie-off with a sl.st.
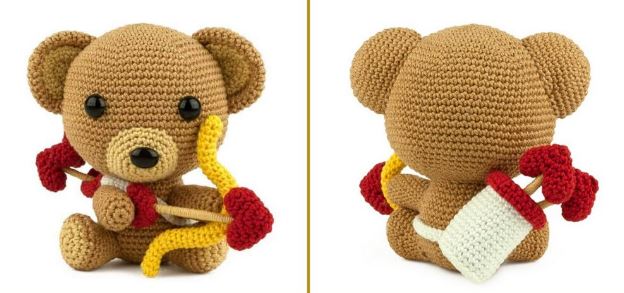
Putting all the parts together
Sew the arms to the body, about 2 rounds below the neck.
Sew the feet to the body, about 8 rounds below the neck.
Fill the snout and sew it to the head, somewhere at round 21.
Sew the ears inside to the ears outside.
Then sew the ears to the head, somewhere at round 8.
Put the strap along the front around the bear. Sew the ends at the back of the bear to the quiver, 1 end at round 15 and the other end at round 7.
Take a skewer and cut it so it will be about 5 cm tall.
Wrap light brown yarn around it and use (fabric) glue to keep it on its place.
Paste 1 end of the skewer into the heart and the other end into the back of the arrow.
Sew or paste the bow to 1 arm of the bear.
Sew or paste the heart of the arrow to the bow and the back of the arrow to the other arm.
Put the other 2 arrows in the quiver.
Please send a picture of your finished plush to
I love to see it!
I will also add it to the gallery on my website.
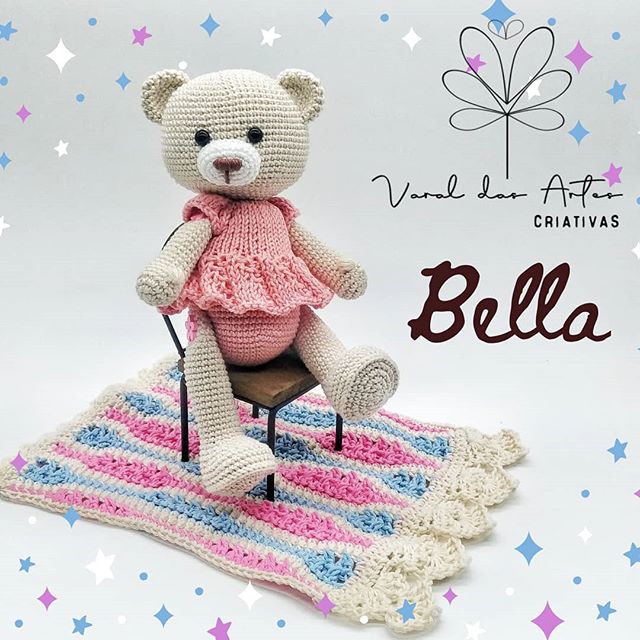
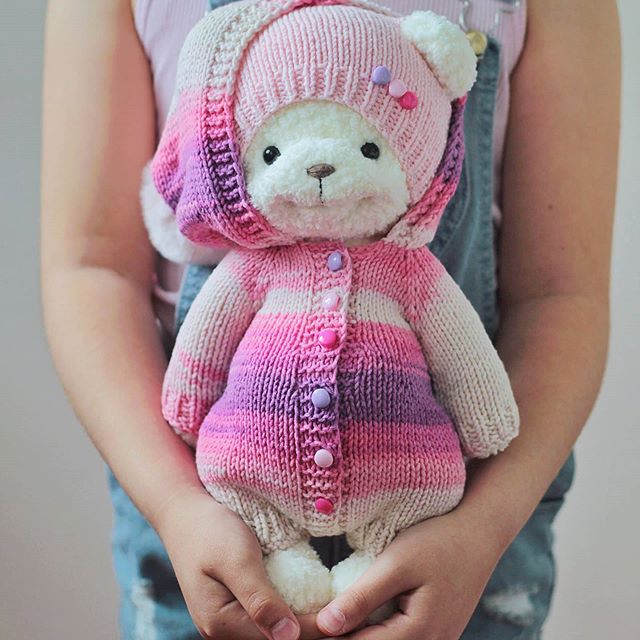
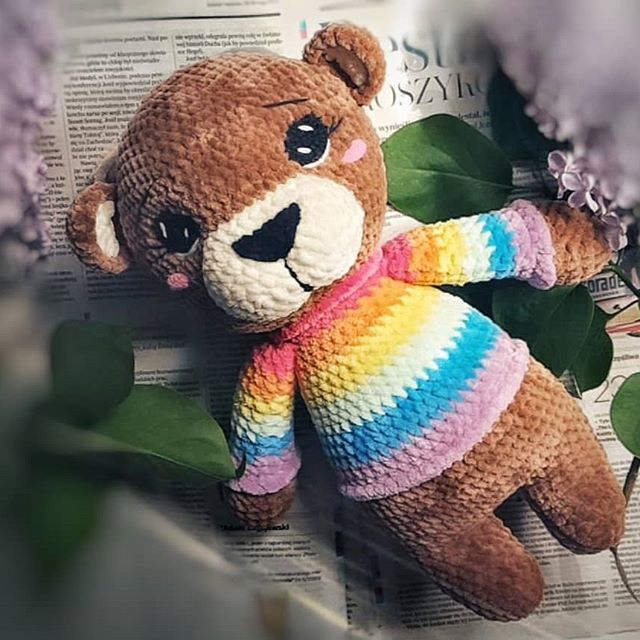
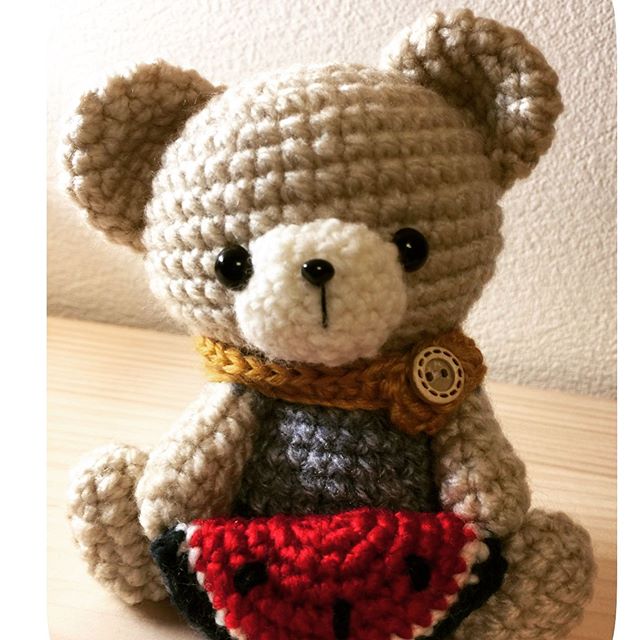
More Amigurumi Bear Ideas: