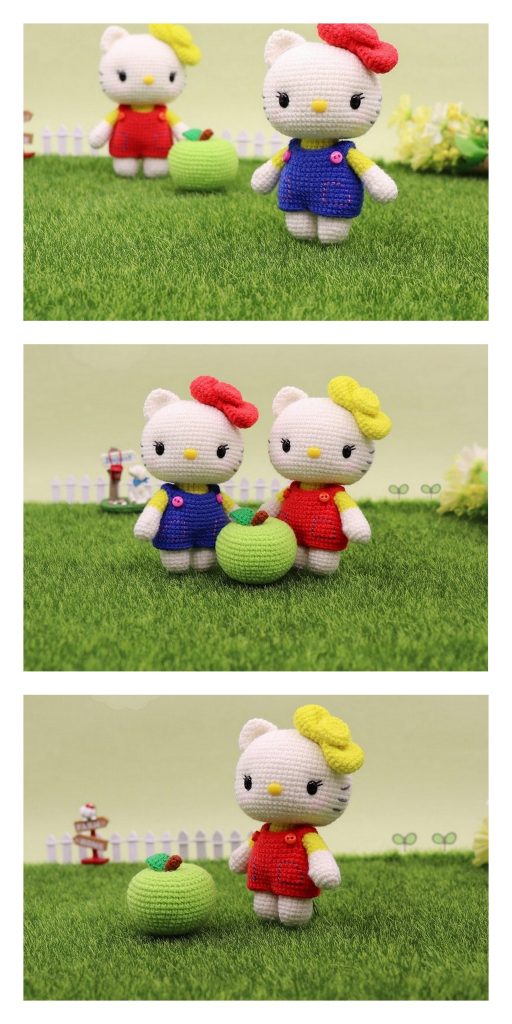
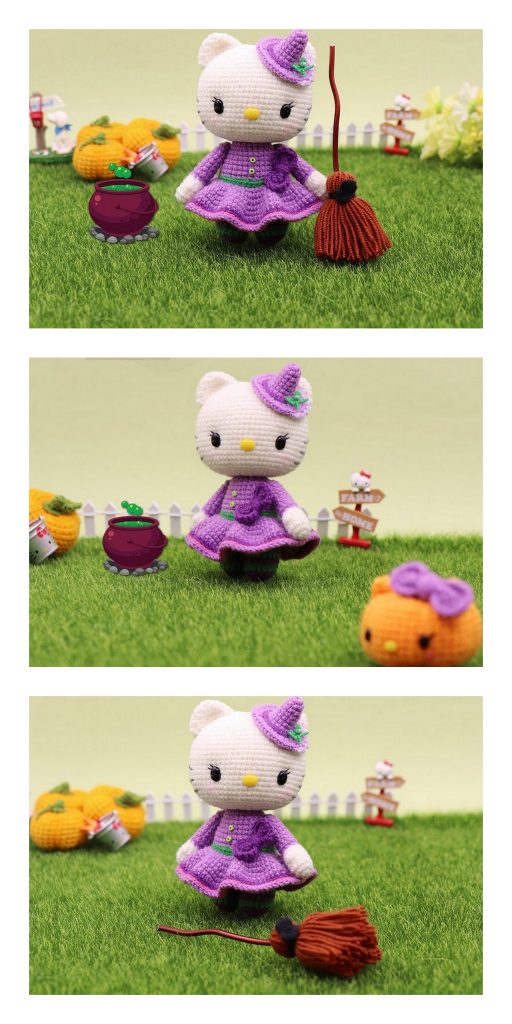
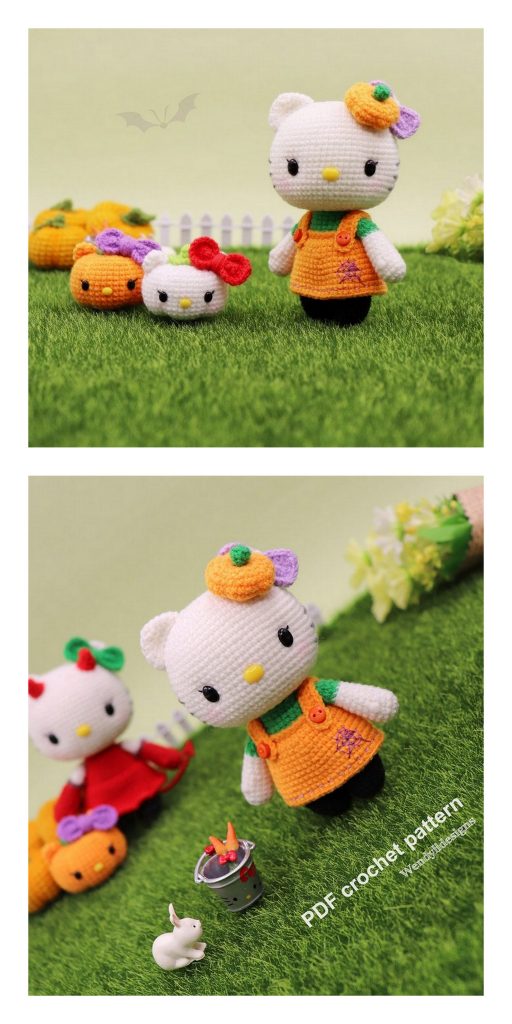
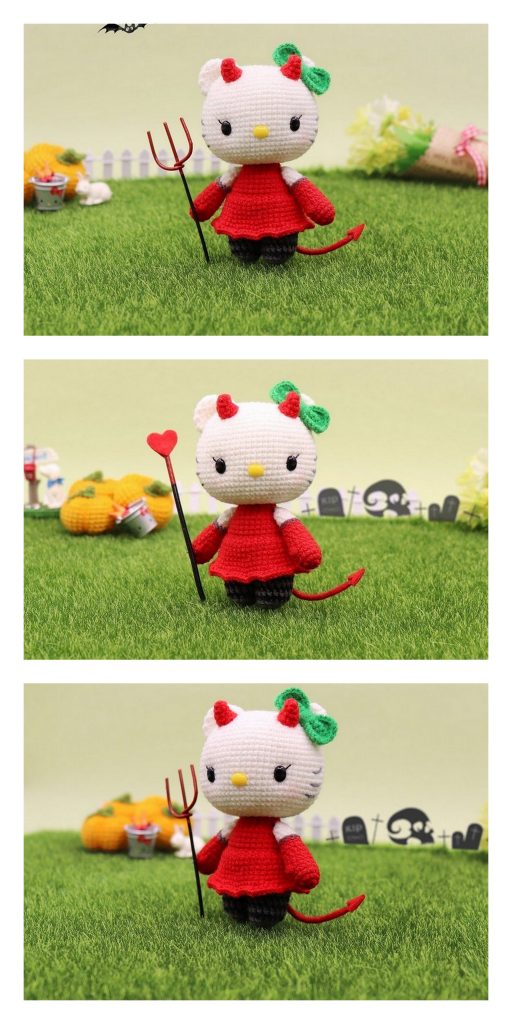
Free Amigurumi Cute Cat Crochet Pattern
Hello dear Amigurumi Followers
Today we share one free amigurumi crochet pattern again for you. As you know we share new amigurumi free patterns every day. The main crochets are amigurumi gazelles, amigurumi bears, amigurumi pola, amigurumi pandas, amigurumi penguins, amigurumi giraffes, amigurumi llama, amigurumi pigs, amigurumi bunny, amigurumi clowns, amigurumi lambs, amigurumi bees, amigurumi unicorns, amigurumi dolls, amigurumi foxes, amigurumi penguins, amigurumi dinosaurs, amigurumi elephants, amigurumi hippos, amigurumi monkeys, amigurumi cats, amigurumi dogs and more …
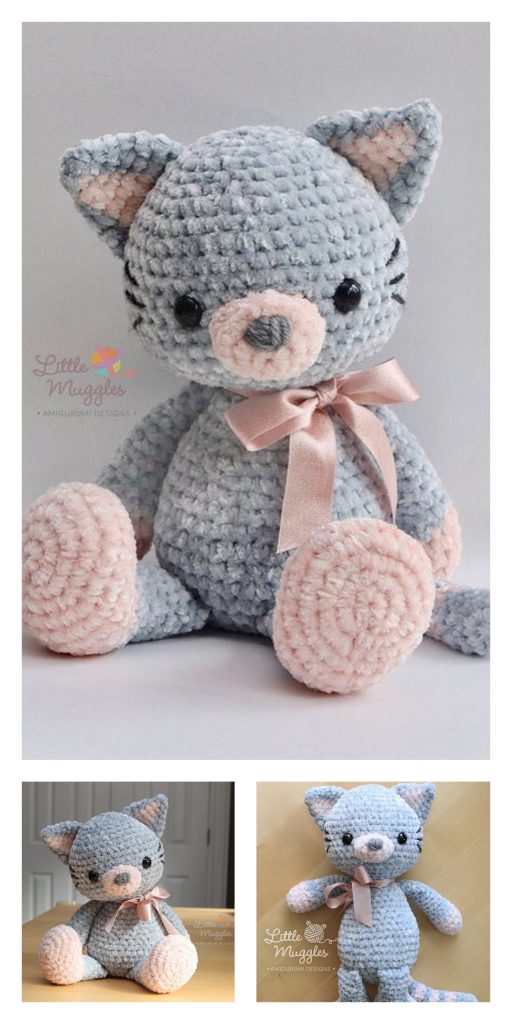
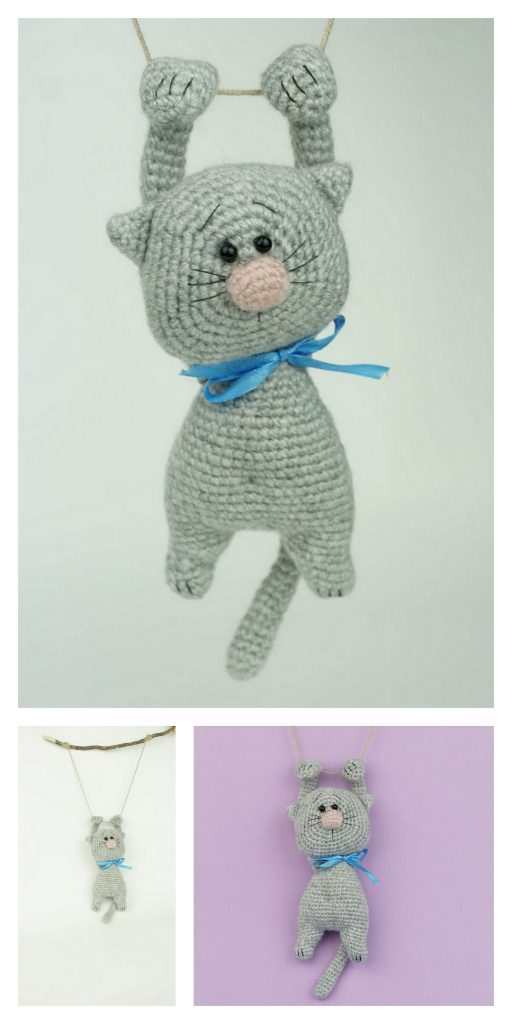
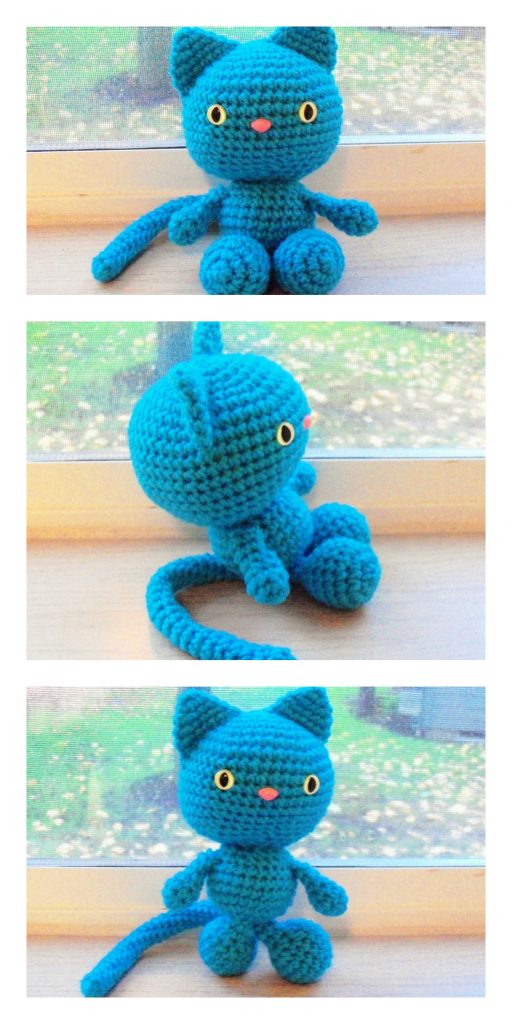
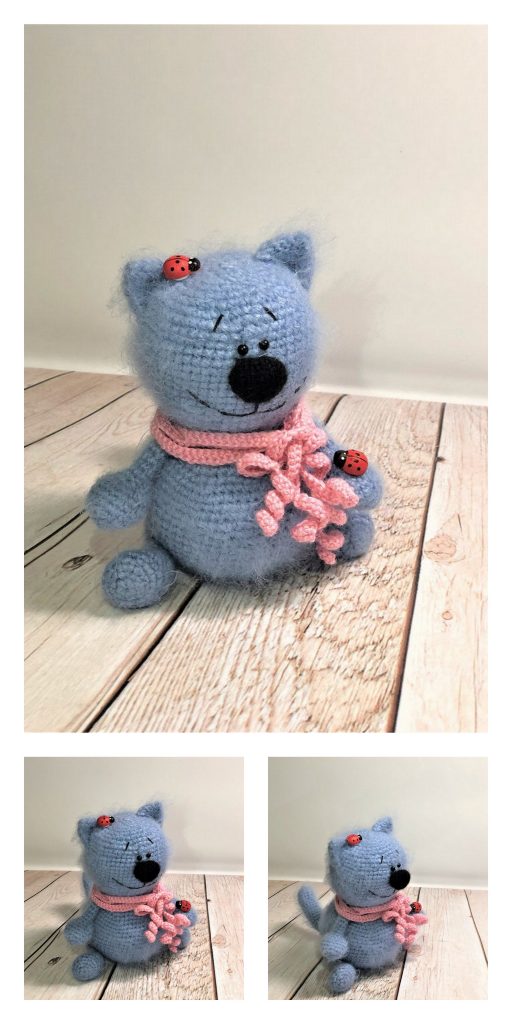
Todays daily new amigurumi free crochet pattern is Amigurumi cute cat crochet.
I want to give you some informations about this pattern ;
If you enjoy making amigurumi, here I share this easy and free amigurumi pattern for you for free. Your kids will love these toys.
Amigurumi Cat Making
Abbreviations:
R: round
mr = magic ring
sc = single crochet
inc = increase (2 sc in the next stitch)
W = 3 sc in the next stitch
dec = decrease (join the next 2 stitches into 1)
sl st = slip stitch
st = stitch
ch = chain
dc = double crochet
tr = treble crochet
hdc = half double crochet
F.O = finish off
BLO = back loop only
FLO = front loop only
[ ] = number of stitches you should have at the end of the round/row
( ) x 6 = repeat whatever is between the brackets the number of times stated
To crochet cat amigurumi you need:
Yarn: Blue, white, yellow and black yarn
Crochet hook
Fiberfill for stuffing
Sewing needle and scissors
Cat amigurumi
Head
Start with blue color yarn
R 1: mr with 6 st [6]
R 2: inc x 6 [12]
R 3: (1 sc, inc) x 6 [18]
R 4: (2 sc, inc) x 6 [24]
R 5: (3 sc, inc) x 6 [30]
R 6: (4 sc, inc) x 6 [36]
R 7: (5 sc, inc) x 6 [42]
R 8: (6 sc, inc) x 6 [48]
R 9: (7 sc, inc) x 6 [54]
R 10: (8 sc, inc) x 6 [60]
R 11-20: 60 sc (10 rounds) [60]
R 21: (8 sc, dec) x 6 [54]
R 21: (7 sc, dec) x 6 [48]
R 21: (6 sc, dec) x 6 [42]
R 24: (5 sc, dec) x 6 [36]
R 25: (4 sc, dec) x 6 [30]
R 26: (3 sc, dec) x 6 [24]
R 27: (2 sc, dec) x 6 [18]
Sl st. Stuff with fiberfill. Cut the yarn.
Ears (make 2)
Start with white color yarn
R 1: mr with 4 st [4]
R 2: inc x 4 [8]
R 3: (3 sc, inc) x 2 [10]
R 4: (4 sc, inc) x 6 [12]
R 5: (5 sc, inc) x 6 [14]
R 6: (6 sc, inc) x 6 [16]
R 7: (7 sc, inc) x 6 [18]
Cut the yarn, leaving a long tail for sewing.
Arms (make 2)
Start with white color yarn
R 1: mr with 6 st [6]
R 2: inc x 6 [12]
R 3: (3 sc, inc) x 6 [18]
R 4-6: 18 sc (3 rounds) [18]
R 7: (7 sc, dec) x 2 [16]
R 8-9: 16 sc (2 rounds) [16]
R 10: (6 sc, dec) x 2 [14]
R 11-12: 14 sc [14]
R13: (5 sc, dec) x 2 [12]
R 14-25: 12 sc (12 rounds) [12]
After about round 11 and 12 round, fill the arm with stuffing. Continue make crochet and fill with fiberfill to the end of row.
Put the piece in half and connect the two edges with sc.
Legs (make 2)
Start with blue color yarn
R 1: mr with 6 st [6]
R 2: inc x 6 [12]
R 3: (3 sc, inc) x 6 [18]
R 4-14: 18 sc (11 rounds) [18]
Cut the yarn, hide the tail. Stuff with fiberfill.
Leg 2
Make the other leg, don’t cut the yarn. Stuff with fiberfill.
Body
R 1: Continue to crochet 3 ch and join leg 1 with sl st. Continue to crochet the body using the stitches of both legs and both side of chain (3 chain).
18 sc (leg 1), 3 sc (3 stitch of chain), 18 sc (leg 2), 3 sc (3 stich in other side of chain) [42]
R 2-13: 42 sc [42]
Change to white color
R 14-18: 42 sc (5 rounds) [42]
R 19: (5 sc, dec) x6 [36]
R 20-21: 36 sc (2 rounds) [36]
R 22: (4 sc, dec) x 6 [30]
R 23-24: 30 sc (2 rounds) [30]
R 25: (3 sc, dec) x 6 [24]
R 26-28: 24 sc (3 rounds) [24]
R 29: (2 sc, dec) x 6 [18]
R 30-31: 18 sc [18]
Cut the yarn, leaving a long tail for sewing. Stuff with fiberfill
Bow
Start with yellow mix grey color (big size yarn)
Begin with a magic circle
[2 Chain , work 6 tr, 3 ch . sl st into the ring]
Repeat sequence.
Pull yarn tail to tighten the loop, leave enough yarn to wrap around the center of the bow. End off. Weave in loose ends.
Assembly:
– Sew the head to the body.
– Sew the arms on the sides of the body 1 round down from the head.
– Put the ears on the head and sew it.
– Embroider a nose, mouth, eyes and eyesbrown (like photo)
Congrats! Your cat amigurumi doll is ready for photo session!
Pattern by: @anneyumagi
Picture: @anneyumagi
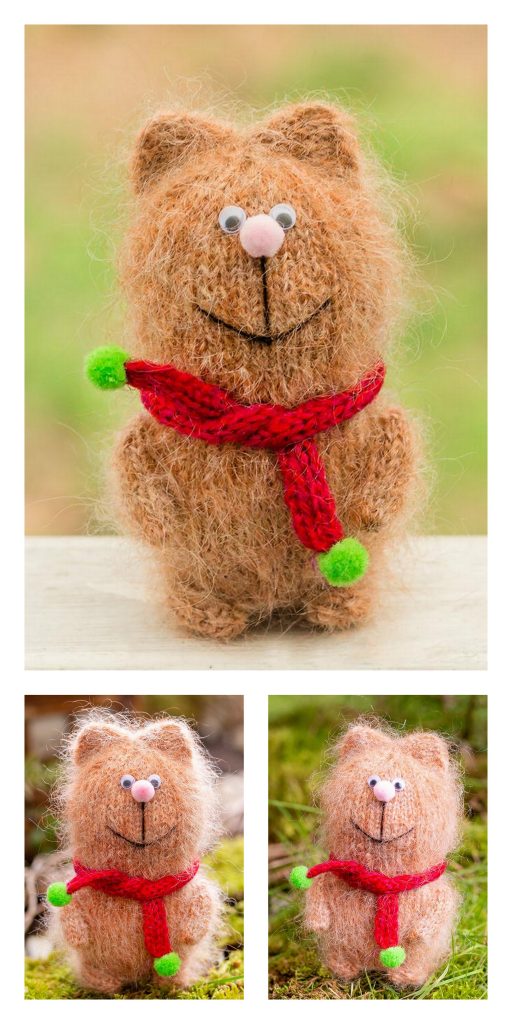
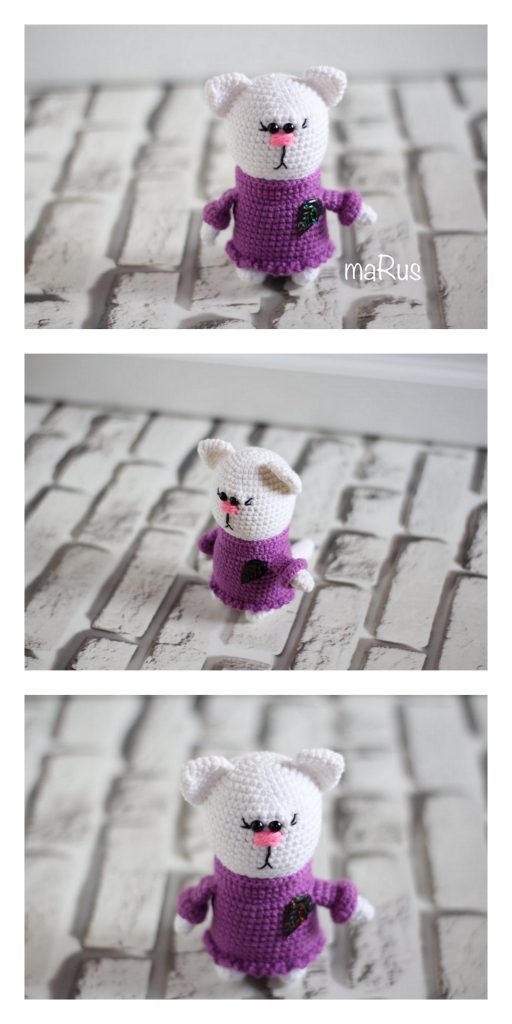
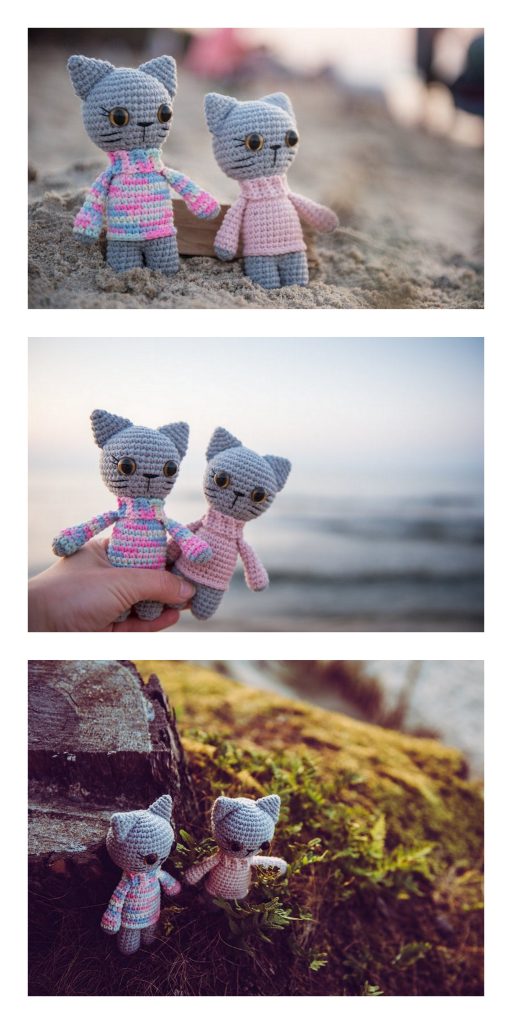
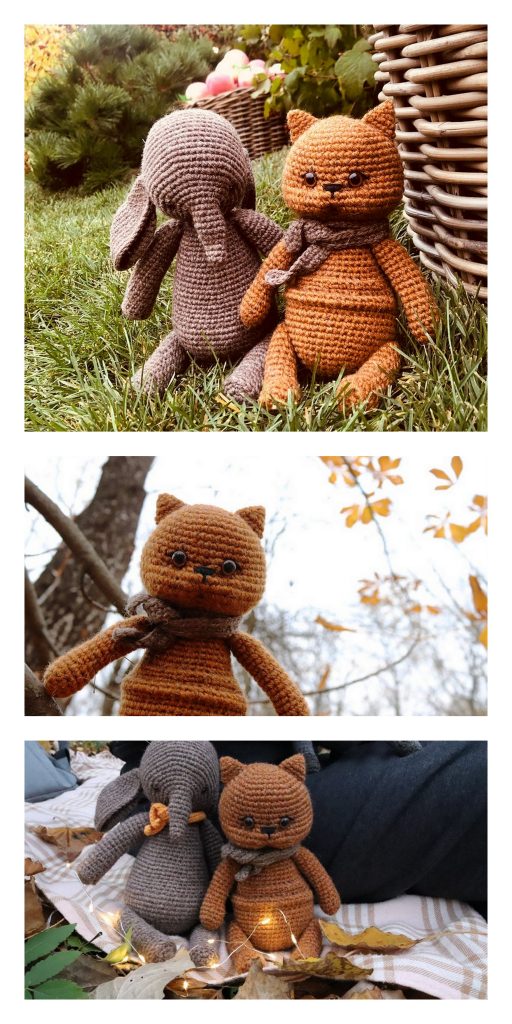
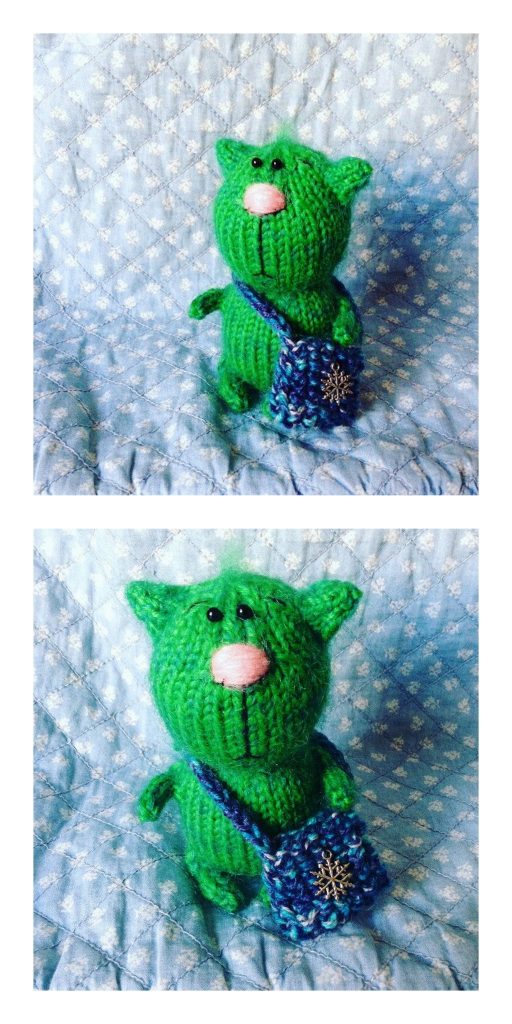
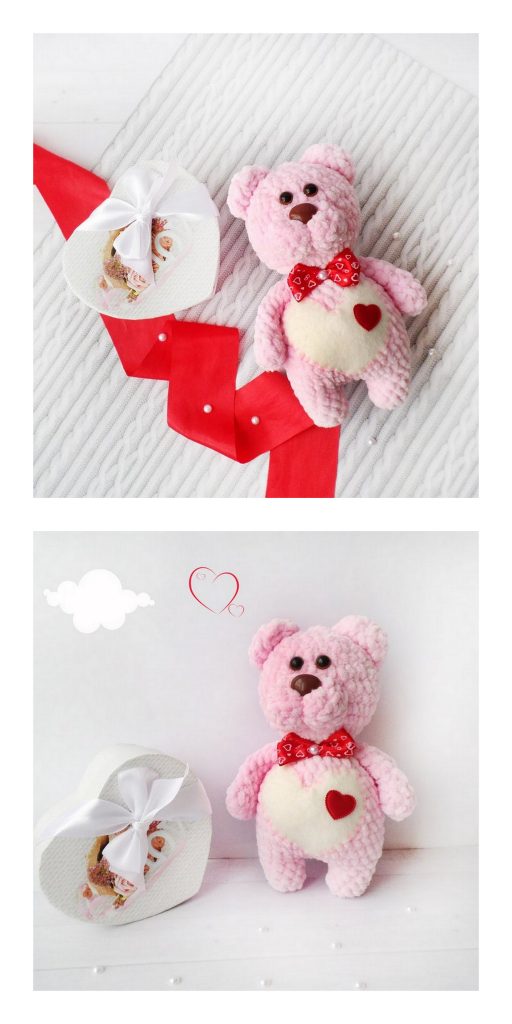
More Amigurumi Cute Cat Ideas:
