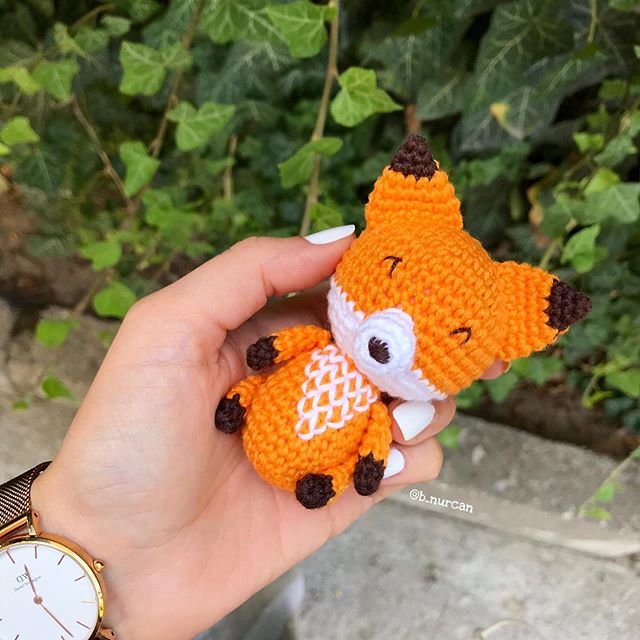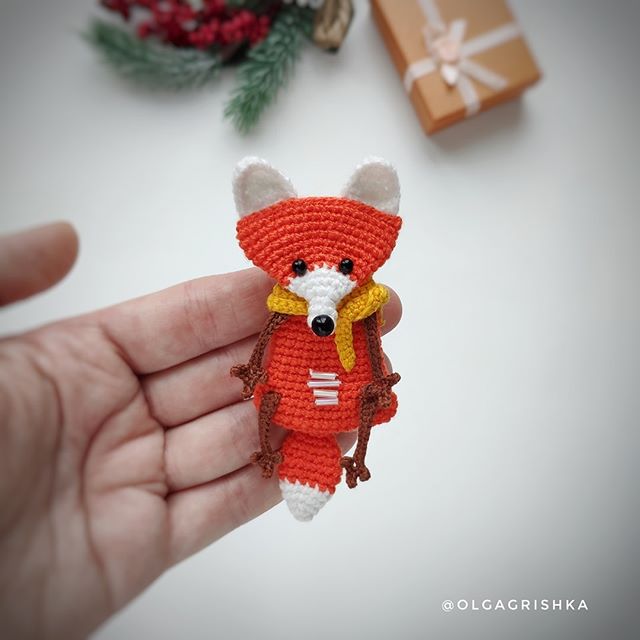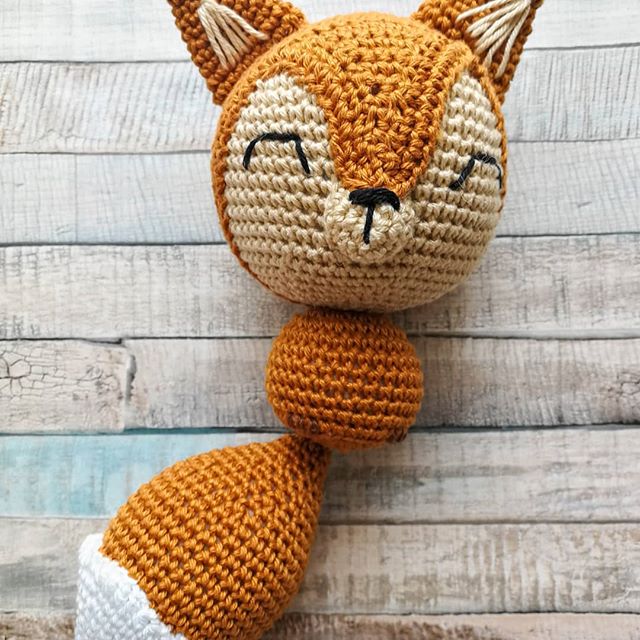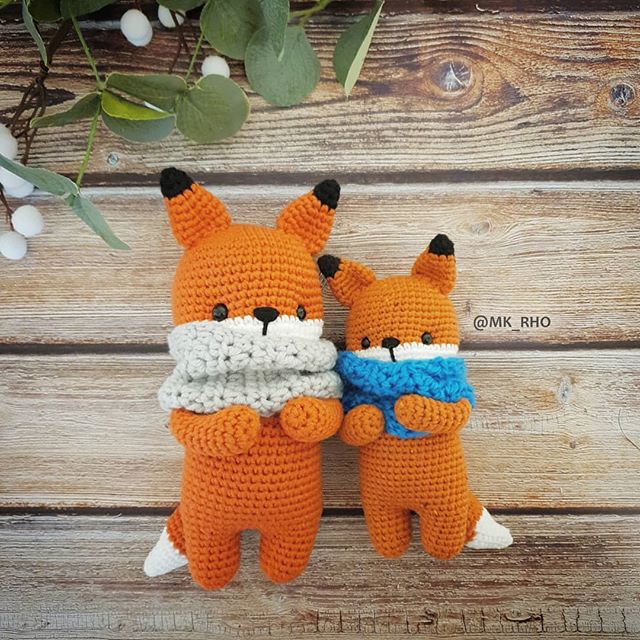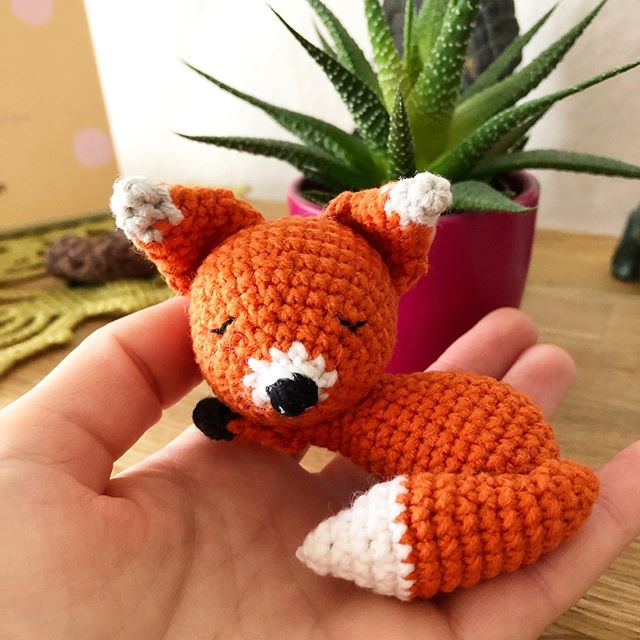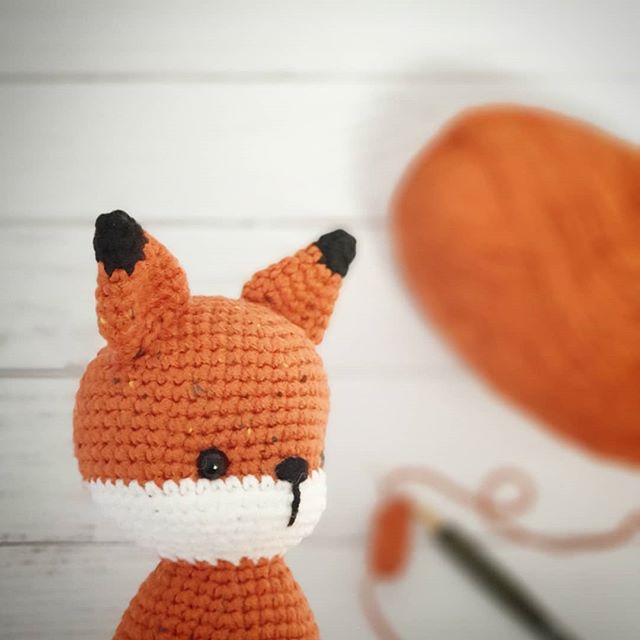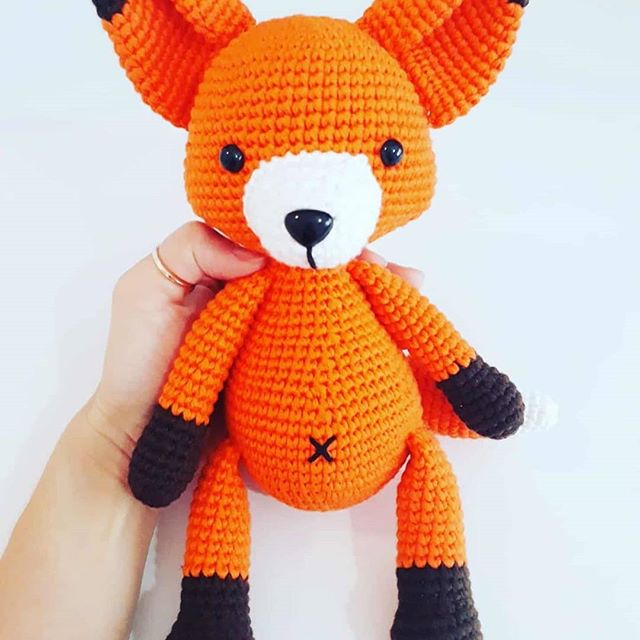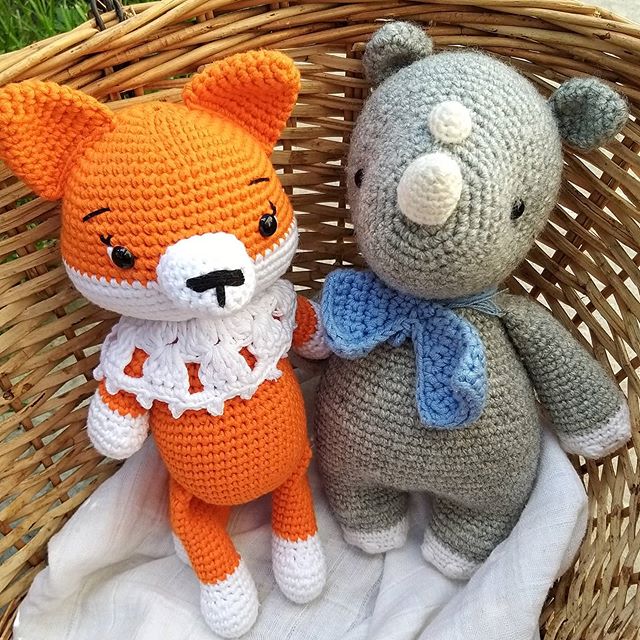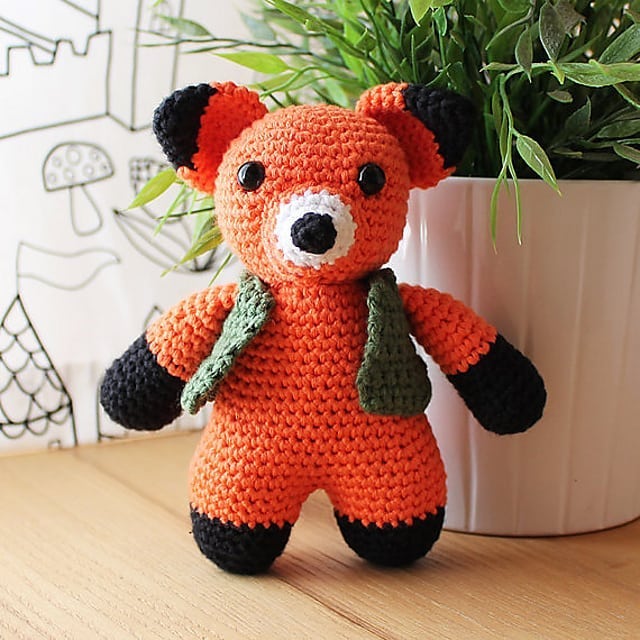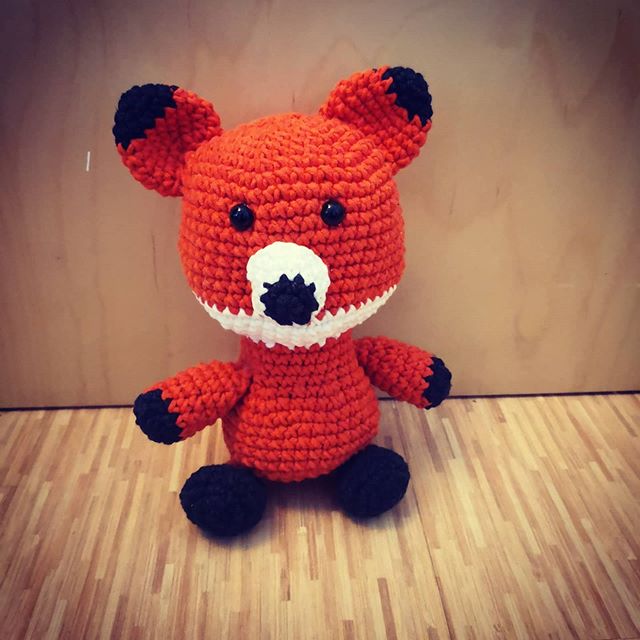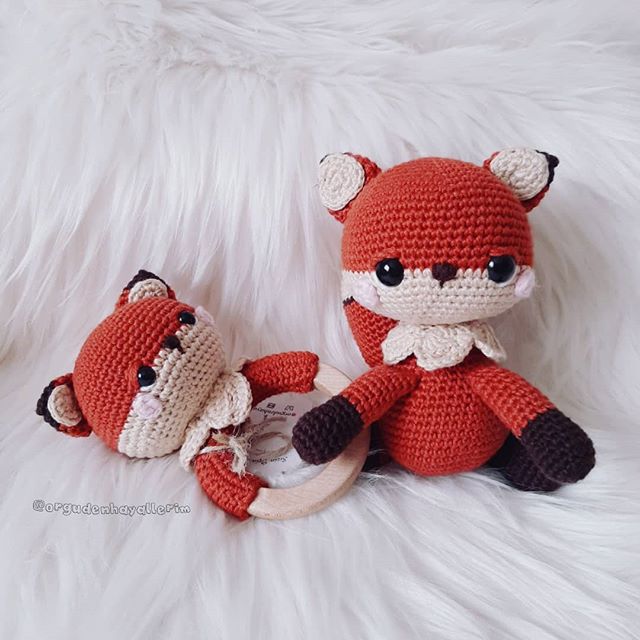
Amigurumi Little Fox Free Crochet Pattern
Hello dear visitors, I am here again with new amigurumi molds for you. I am sharing amigurumi patterns for you here for free. You can make your children happy by making these patterns. Amigurumi toys are very popular lately and are the most beautiful toys that don’t harm your kids. Your kids will love them. Let’s move on to our pattern and give them this gift.
MATERIALS
- DK or Light Worsted Weight Yarn
- Crochet Hook
- Toy Stuffing
- Safety Eyes
- Scissors
- Tapestry Needle
- Sewing Pins
- Stitch Markers
Colors:
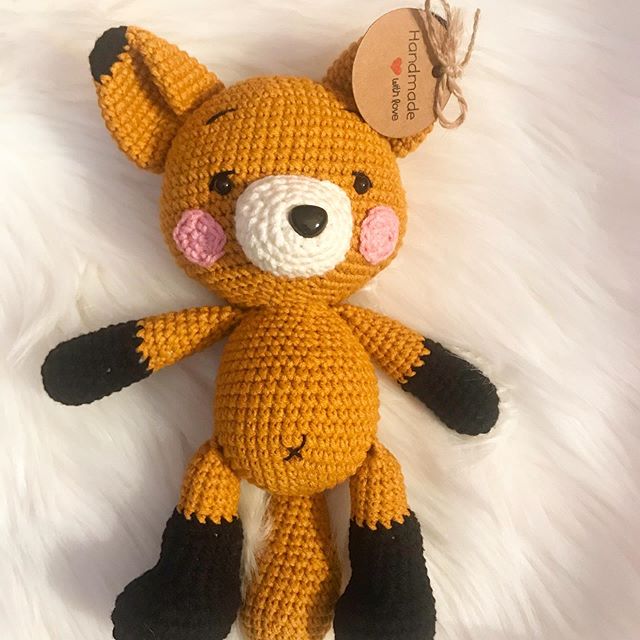
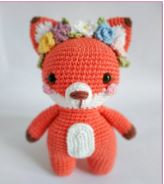
Orange for the head, ears, arms, body, legs and tail
White for the head, muzzle, tail, belly and ear details
Brown for the ear details, arms, eyeliner and nose embroidery
Light pink for the cheeks
Green for the wreath and leaves
Pink, lilac, blue, yellow and white were my chosen colors for the flowers
ABBREVIATIONS
US crochet terms
st: stitch
ch: chain
sc: single crochet
slst: slip stitch
hdc: half double crochet
dc: double crochet
inc: single crochet increase
dec: single crochet decrease
BLO: back loop only
Let’s begin!
Muzzle
In white
1. Start 6 sc in a magic ring [6]
2. Inc in all [12]
3. (1 sc, inc) x6 [18]
4. Sc in all [18]
5. (1 sc, dec) x6 [12]
Fasten off, leaving a long tail for sewing. Stuff lightly.
With brown yarn, embroider the nose.
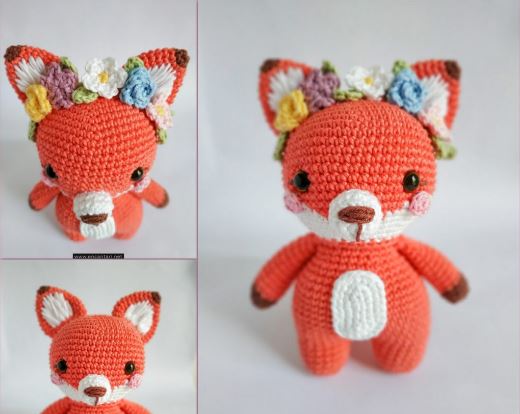
Head
In orange and white
Start in orange:
1. Start 6 sc in a magic ring [6]
2. Inc in all [12]
3. (1 sc, inc) x6 [18]
4. (2 sc, inc) x6 [24]
5. (3 sc, inc) x6 [30]
6. (4 sc, inc) x6 [36]
7. (5 sc, inc) x6 [42]
8. (6 sc, inc) x6 [48]
9. (7 sc, inc) x6 [54]
10. (8 sc, inc) x6 [60]
11-18. Sc in all [60]
Continue working with alternating colors (orange and white). The color you work with is indicated
between parentheses:
19. (orange) 15 sc, (white) 7 sc, (orange) 16 sc, (white) 7 sc, (orange) 15 sc [60]
20. (orange) 14 sc, (white) 10 sc, (orange) 12 sc, (white) 10 sc, (orange) 14 sc [60]
21. (orange) 13 sc, (white) 13 sc, (orange) 8 sc, (white) 13 sc, (orange) 13 sc [60]
22. (orange) 8 sc, dec, 2 sc, (white) 6 sc, dec, 8 sc, dec, 8 sc, dec, 8 sc, (orange) dec, 8 sc, dec [54]
23. (orange) 7 sc, dec, 3 sc, (white) 4 sc, dec, 7 sc, dec, 7 sc, dec, 7 sc, (orange) dec, 7 sc, dec [48]
24. (orange) 6 sc, dec, 4 sc, (white) 2 sc, dec, 6 sc, dec, 6 sc, dec, 6 sc, (orange) dec, 6 sc, dec [42]
25. (orange) 5 sc, dec, 5 sc, (white) dec, 5 sc, dec, 5 sc, dec, 5 sc, (orange) dec, 5 sc, dec [36]
Continue in orange:
26. (4 sc, dec) x6 [30]
Fasten off, leaving a long tail for sewing. Insert the safety eyes between rounds 17-18 of the head, with
about an interspace of 11 stitches.
With brown yarn, embroider the eyeliner.
Sew the muzzle on the head.
Ears
In orange and brown
Start in brown:
1. Start 6 sc in a magic ring [6]
2. Sc in all [6]
Change to orange:
3. Inc in all [12]
4. Sc in all [12]
5. (1 sc, inc) x6 [18]
6-7. Sc in all [18]
8. (2 sc, inc) x6 [24]
9-11. Sc in all [24]
12. (2 sc, dec) x6 [18]
Fasten off, leaving a long tail for sewing. Do not stuff. Flatten the ears.
With white yarn, embroider stripes to make the fur.
Sew the ears on top of the head.
Cheeks
Make 2
In light pink
1. Start 6 sc in a magic ring [6]
Slst to first sc to join. Fasten off, leaving a long tail for sewing. Sew the cheeks beneath the eyes.
Legs
In orange
1. Start 6 sc in a magic ring [6]
2. Inc in all [12]
3. (1 sc, inc) x6 [18]
4-7. Sc in all [18]
Make 2. Fasten off and weave in the yarn ends only on the first leg. Do not fasten off on the second.
Now we join the legs and form the body:
Body
In orange
8. From the second leg, ch 3. Insert the hook in the next st of the first leg and sc to join. Sc in all st of the
first leg (18 sc), sc in each ch (3 sc), sc in all st of the second leg (18 sc), sc in the other side of the ch (3
sc) [42]
9. Sc in all [42]
10. (6 sc, inc) x6 [48]
11-18. Sc in all [48]
19. (6 sc, dec) x6 [42]
20. Sc in all [42]
21. (5 sc, dec) x6 [36]
22. Sc in all [36]
23. (4 sc, dec) x6 [30]
24. Sc in all [30]
Fasten off and weave in the yarn ends. Sew the head to the body.
Arms
Make 2
In orange and brown
Start in brown:
1. Start 6 sc in a magic ring [6]
2. Inc in all [12]
3-4. Sc in all [12]
Change to orange:
5-15. Sc in all [12]
Fasten off, leaving a long tail for sewing. Stuff lightly. With a tapestry needle, sew both sides of the last
round to join. Sew the arms to the body, centered on both sides.
Belly
In white
1. Ch 6. Starting in second ch from hook: inc, sc in next 3 ch, 4 sc in last ch. Continue on the other side of
the foundation chain: sc in next 3 ch, inc in last [14]
2. (Inc) x2, 3 sc, (inc) x4, 3 sc, (inc) x2 [22]
3. 1 sc, inc, 7 sc, inc, 2 sc, inc, 7 sc, inc, 1 sc [26]
Fasten off, leaving a long tail for sewing. Sew on the body.
Tail
In white and orange
Start in white:
1. Start 6 sc in a magic ring [6]
2. Sc in all [6]
3. Inc in all [12]
4-5. Sc in all [12]
6. (1 sc, inc) x6 [18]
7-8. Sc in all [18]
9. (2 sc, inc) x6 [24]
10. Sc in all [24]
Change to orange:
11. BLO sc in all [24]
12. Sc in all [24]
13. (3 sc, inc) x6 [30]
14. (4 sc, inc) x6 [36]
15-20. Sc in all [36]
21. (4 sc, dec) x6 [30]
22-23. Sc in all [30]
24. (3 sc, dec) x6 [24]
25-26. Sc in all [24]
27. (2 sc, dec) x6 [18]
28-29. Sc in all [18]
30. (1 sc, dec) x6 [12]
31. Sc in all [12]
Fasten off, leaving a long tail for sewing. Stuff the tail.
We will now work in the remaining front loops of round 11.
With white yarn, make a slip knot. Insert the hook in the first front loop of round 11 of the tail and then
in the slip knot. Make 1 ch. Make 2 sc in the same front loop. *3 sc in next loop, slst in next* repeat **.
Make a slst in the first ch to join.
Wreath:
In green
1. Ch 71. Starting in second ch from hook, make a slst into every ch. Do not join yet.
Leaf:
In green
1. Ch 6. Starting in second ch from hook, make a slst, sc, hdc, sc, slst. Continue on the other side of the
foundation chain: slst, sc, hdc, sc, slst.
Make as many leaves as you want. I made 7.
Flowers
Make 5 flowers (or as many as you want). I designed 3 types of flowers, pick your favorite:
Flower type 1:
Start in the chosen color for the middle flower:
1. Start 5 sc in a magic ring. Make a slst to the first sc, changing yarn to the chosen color for the petals.
2. Make 2 ch and 2 dc in the same st (where the slst was made). *Slst in next st, 2 ch, 2 dc in same st*
repeat ** until you have 5 petals. Make a slst to the first ch to join.
Flower type 2:
1. Make a magic ring. *Make 3 ch, 2 dc, 1 slst into the magic ring* repeat ** until you have 5 petals.
Make a slst to the first ch to join. Pull the starting tail to form the flower.
Flower type 3:
1. Ch 15. Starting in third ch from hook, make 2 hdc in same ch, make a slst in next ch, *make 3 hdc in
next ch, slst to next* repeat ** until the end. Sew the flower together to form a rose.
Place the flowers and leaves on top of the wreath to choose the preferred position. Once decided, sew
everything to the wreath.
More Amigurumi Fox Ideas:
